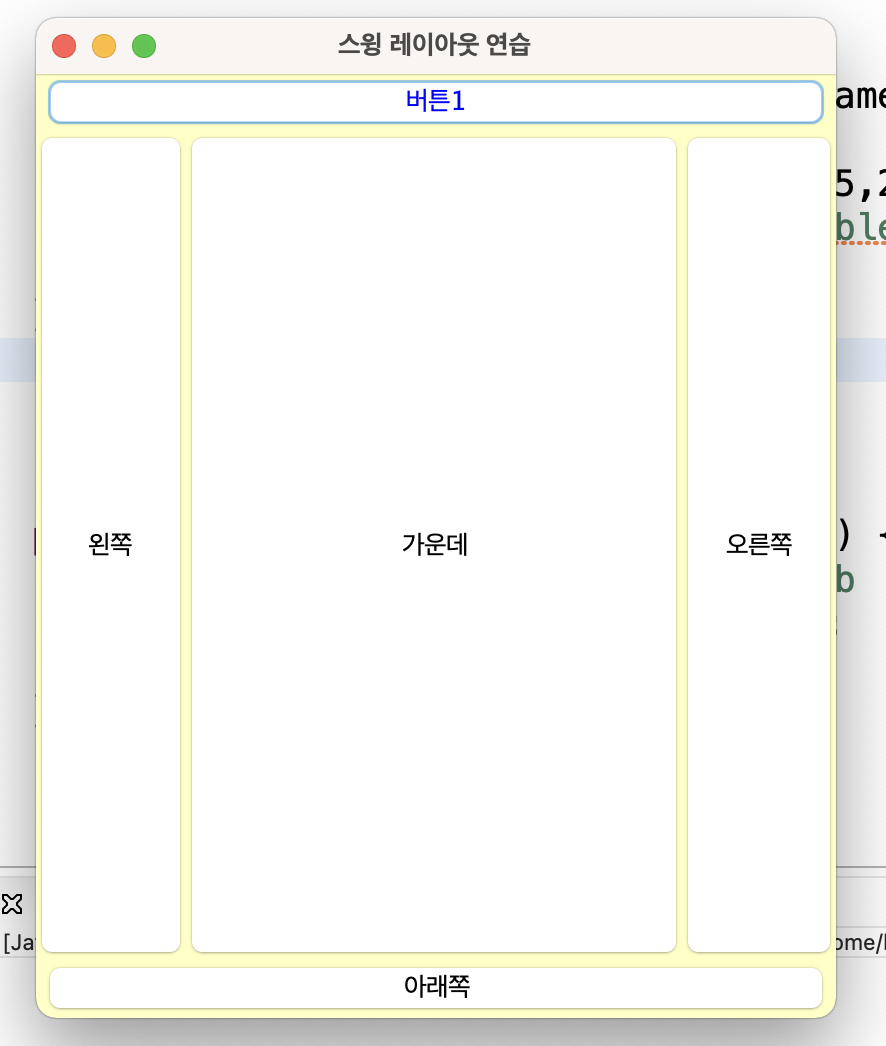
(예제2)
public class SwingLay_03 extends JFrame {
Container cp;
JButton btn1; //버튼 선언
public SwingLay_03(String title) {
super(title);
//버튼 생성
btn1=new JButton("버튼1");
//프레임은 기본이 BorderLayout
//BorderLayout 추가시 위치를 반드시 지정
//this.add(btn1,BorderLayout.NORTH); //위쪽
//this.add(btn1,BorderLayout.SOUTH); //아래쪽
this.add("North",btn1); //첫글자가 반드시 대문자
//버튼생성하며 추가 (위의 방법은 버튼을 선언하고 생성해야 하는데 이거는 한줄에 가능)
this.add("South",new JButton("아래쪽"));
this.add("West",new JButton("왼쪽"));
this.add("East",new JButton("오른쪽"));
this.add("Center",new JButton("가운데"));
//버튼1에 속성
btn1.setBackground(Color.YELLOW); //배경색
btn1.setForeground(Color.BLUE); //글자색
this.setVisible(true);
cp=this.getContentPane();
this.setDefaultCloseOperation(JFrame.EXIT_ON_CLOSE);
this.setBounds(200,300,400,500);
cp.setBackground(new Color(255,255,200));
this.setVisible(true); //setvisible은 항상 맨마지막에 위치
}
public static void main(String[] args) {
new SwingLay_03("스윙 레이아웃 연습");
}
}

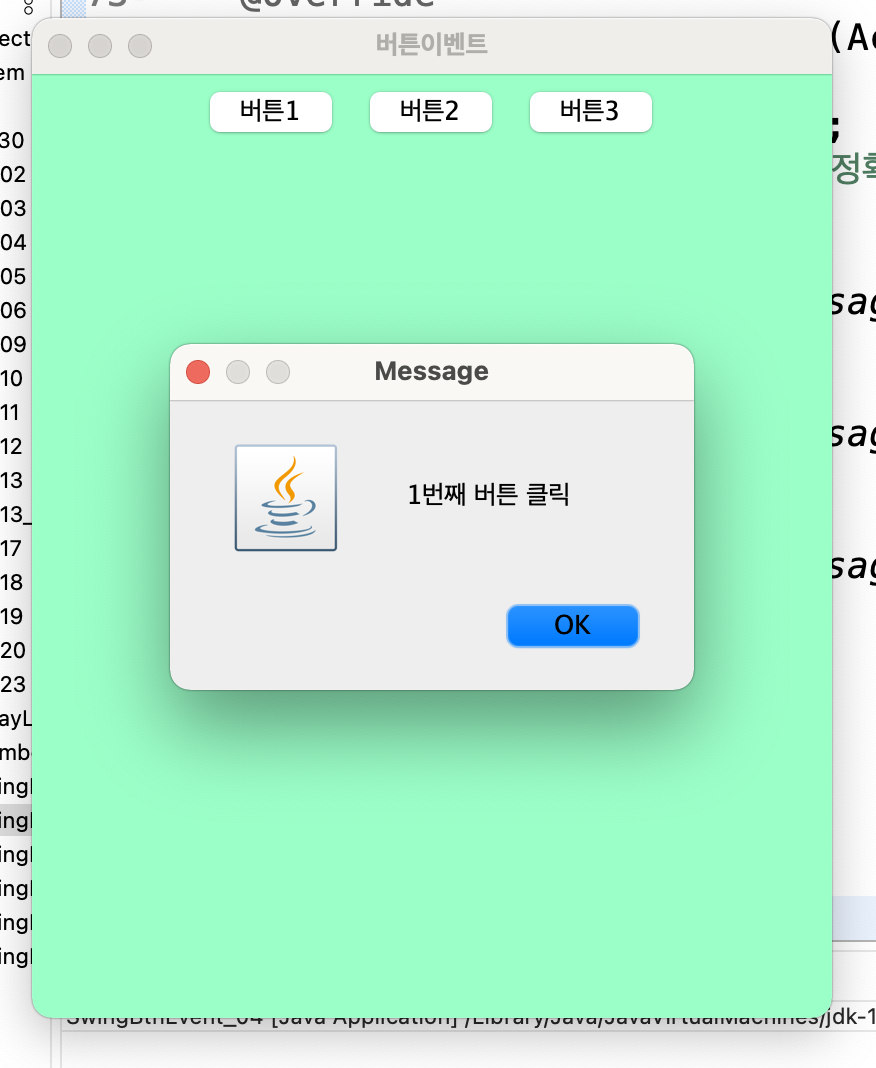
(예제2)
public class SwingBtnEvent_04 extends JFrame implements ActionListener{
Container cp;
JButton btn1,btn2,btn3;
//생성자
public SwingBtnEvent_04(String title) {
super(title);
cp=this.getContentPane();
this.setDefaultCloseOperation(JFrame.EXIT_ON_CLOSE);
this.setBounds(200,300,400,500);
cp.setBackground(new Color(155,255,200));
initDesign(); //디자인 호출
this.setVisible(true);
}
//디자인
public void initDesign() {
//null: 내가 원하는 위치 지정
//flow: 옆으로 나열하는 것을 의미
//레이아웃변경
this.setLayout(new FlowLayout());
//버튼생성
btn1=new JButton("버튼1");
btn2=new JButton("버튼2");
btn3=new JButton("버튼3");
//생성한 것을 프레임에 추가
this.add(btn1);
this.add(btn2);
this.add(btn3);
//버튼 속성
btn1.setBackground(Color.CYAN);
btn2.setBackground(Color.MAGENTA);
btn3.setBackground(Color.YELLOW);
//버튼 이벤트 발생
//이벤트 핸들러와 이벤트발생객체 연결
//public class SwingBtnEvent_04에 implements ActionListener 추가
btn1.addActionListener(this);
btn2.addActionListener(this);
btn3.addActionListener(this);
}
public static void main(String[] args) {
new SwingBtnEvent_04("버튼이벤트");
}
//모든 이벤트 처리 (익명내부클래스로 하나씩 해도 되나 여기서 한번에 가능)
@Override
public void actionPerformed(ActionEvent e) {
Object ob=e.getSource(); //명확하지 않은 걸 할때는 거의 모두의 조상격인 object로 하는게 좋음
//버튼의 어떤 메서드 호출할지 정확하게 지정해 주는 게 좋음
if (ob==btn1)
JOptionPane.showMessageDialog(this, "1번째 버튼 클릭"); //메세지박스를 보여줄 곳
else if (ob==btn2)
JOptionPane.showMessageDialog(this, "2번째 버튼 클릭");
else if (ob==btn3)
JOptionPane.showMessageDialog(this, "3번째 버튼 클릭");
//상속받아서 this
}
}

5,6번
'JAVA' 카테고리의 다른 글
| 210823_Swing(버튼)+image (0) | 2021.08.23 |
|---|---|
| 210823_swing(버튼) (0) | 2021.08.23 |
| 210823_Swing (0) | 2021.08.23 |
| 210823_Array+List (0) | 2021.08.23 |
| 210810_Vector (0) | 2021.08.20 |